Main Screen
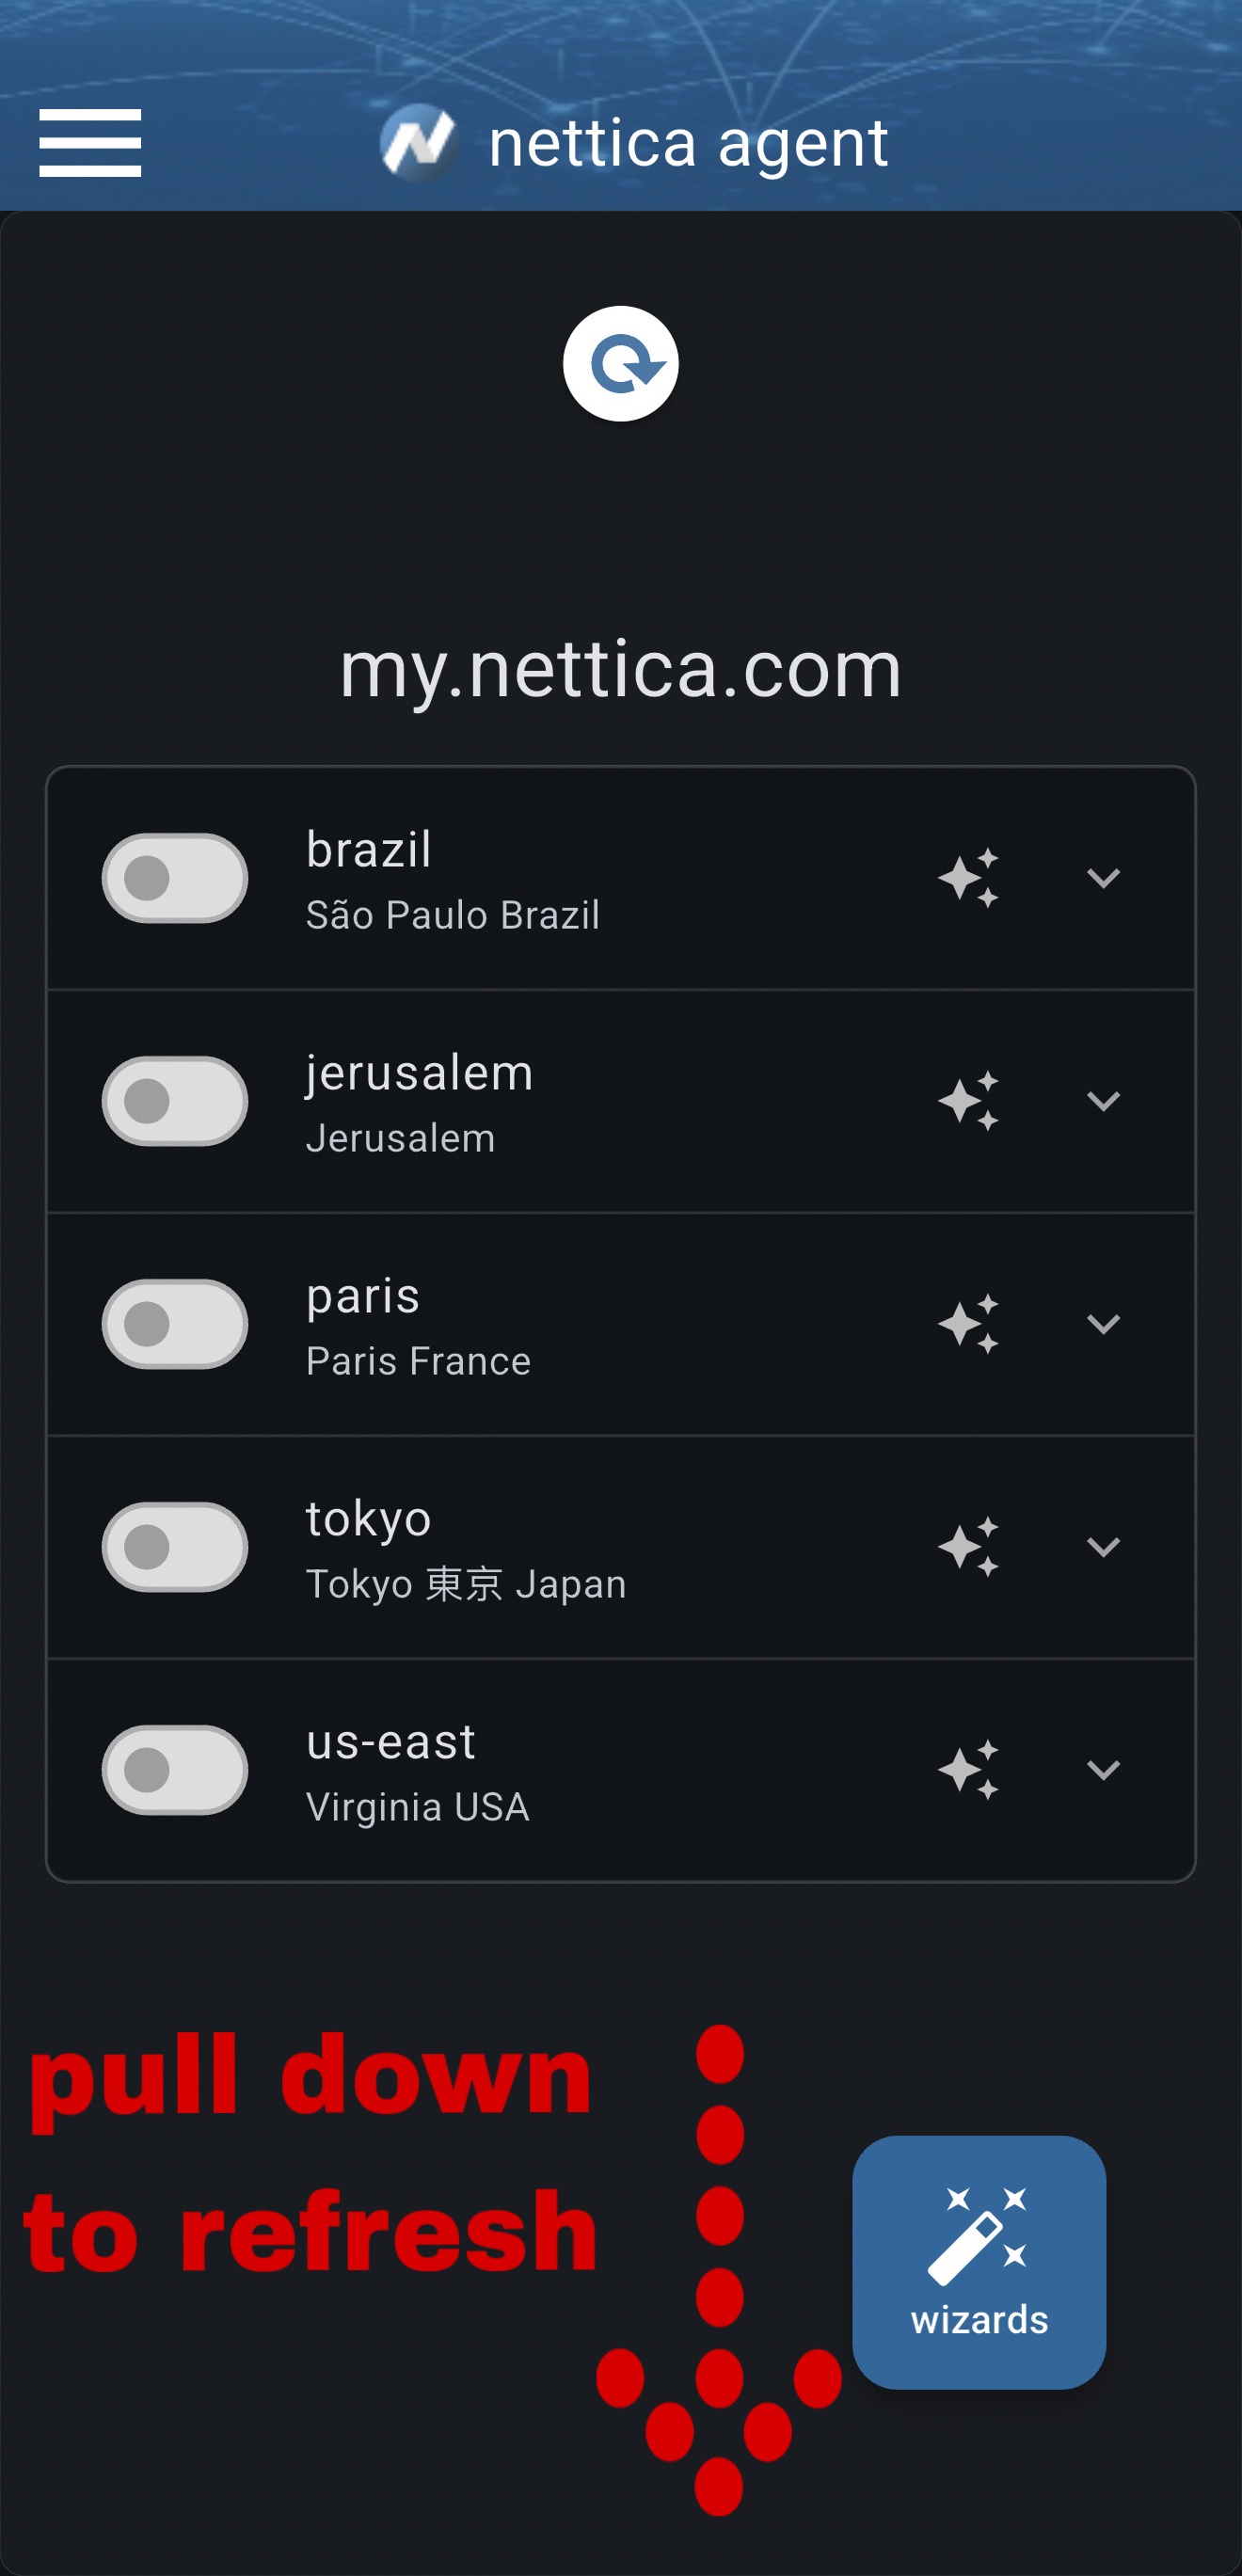
The main screen lists every VPN associated with this device. Each entry shows the VPN name, its description, and a toggle to connect or disconnect. Use the gestures below to refresh your configuration or remove a VPN from your device.
Smart Button
The smart button at the bottom right of the page updates itself based on your current situation — for example, it shows "Login" when you're logged out or "Wizards" when you have service credits available.
While the smart button may show "Login", it is not necessary to log in to start or stop a VPN. It is also not necessary to refresh your configuration or delete a VPN. It is necessary to make changes to your service, such as running a wizard, adding a new network or device, or to manage your account details.
Pull Down to Refresh
If your VPN list looks out of date — for example after an administrator adds you to a new network — pull the list downward and release. The app contacts the server and syncs the latest configuration for all your VPNs.
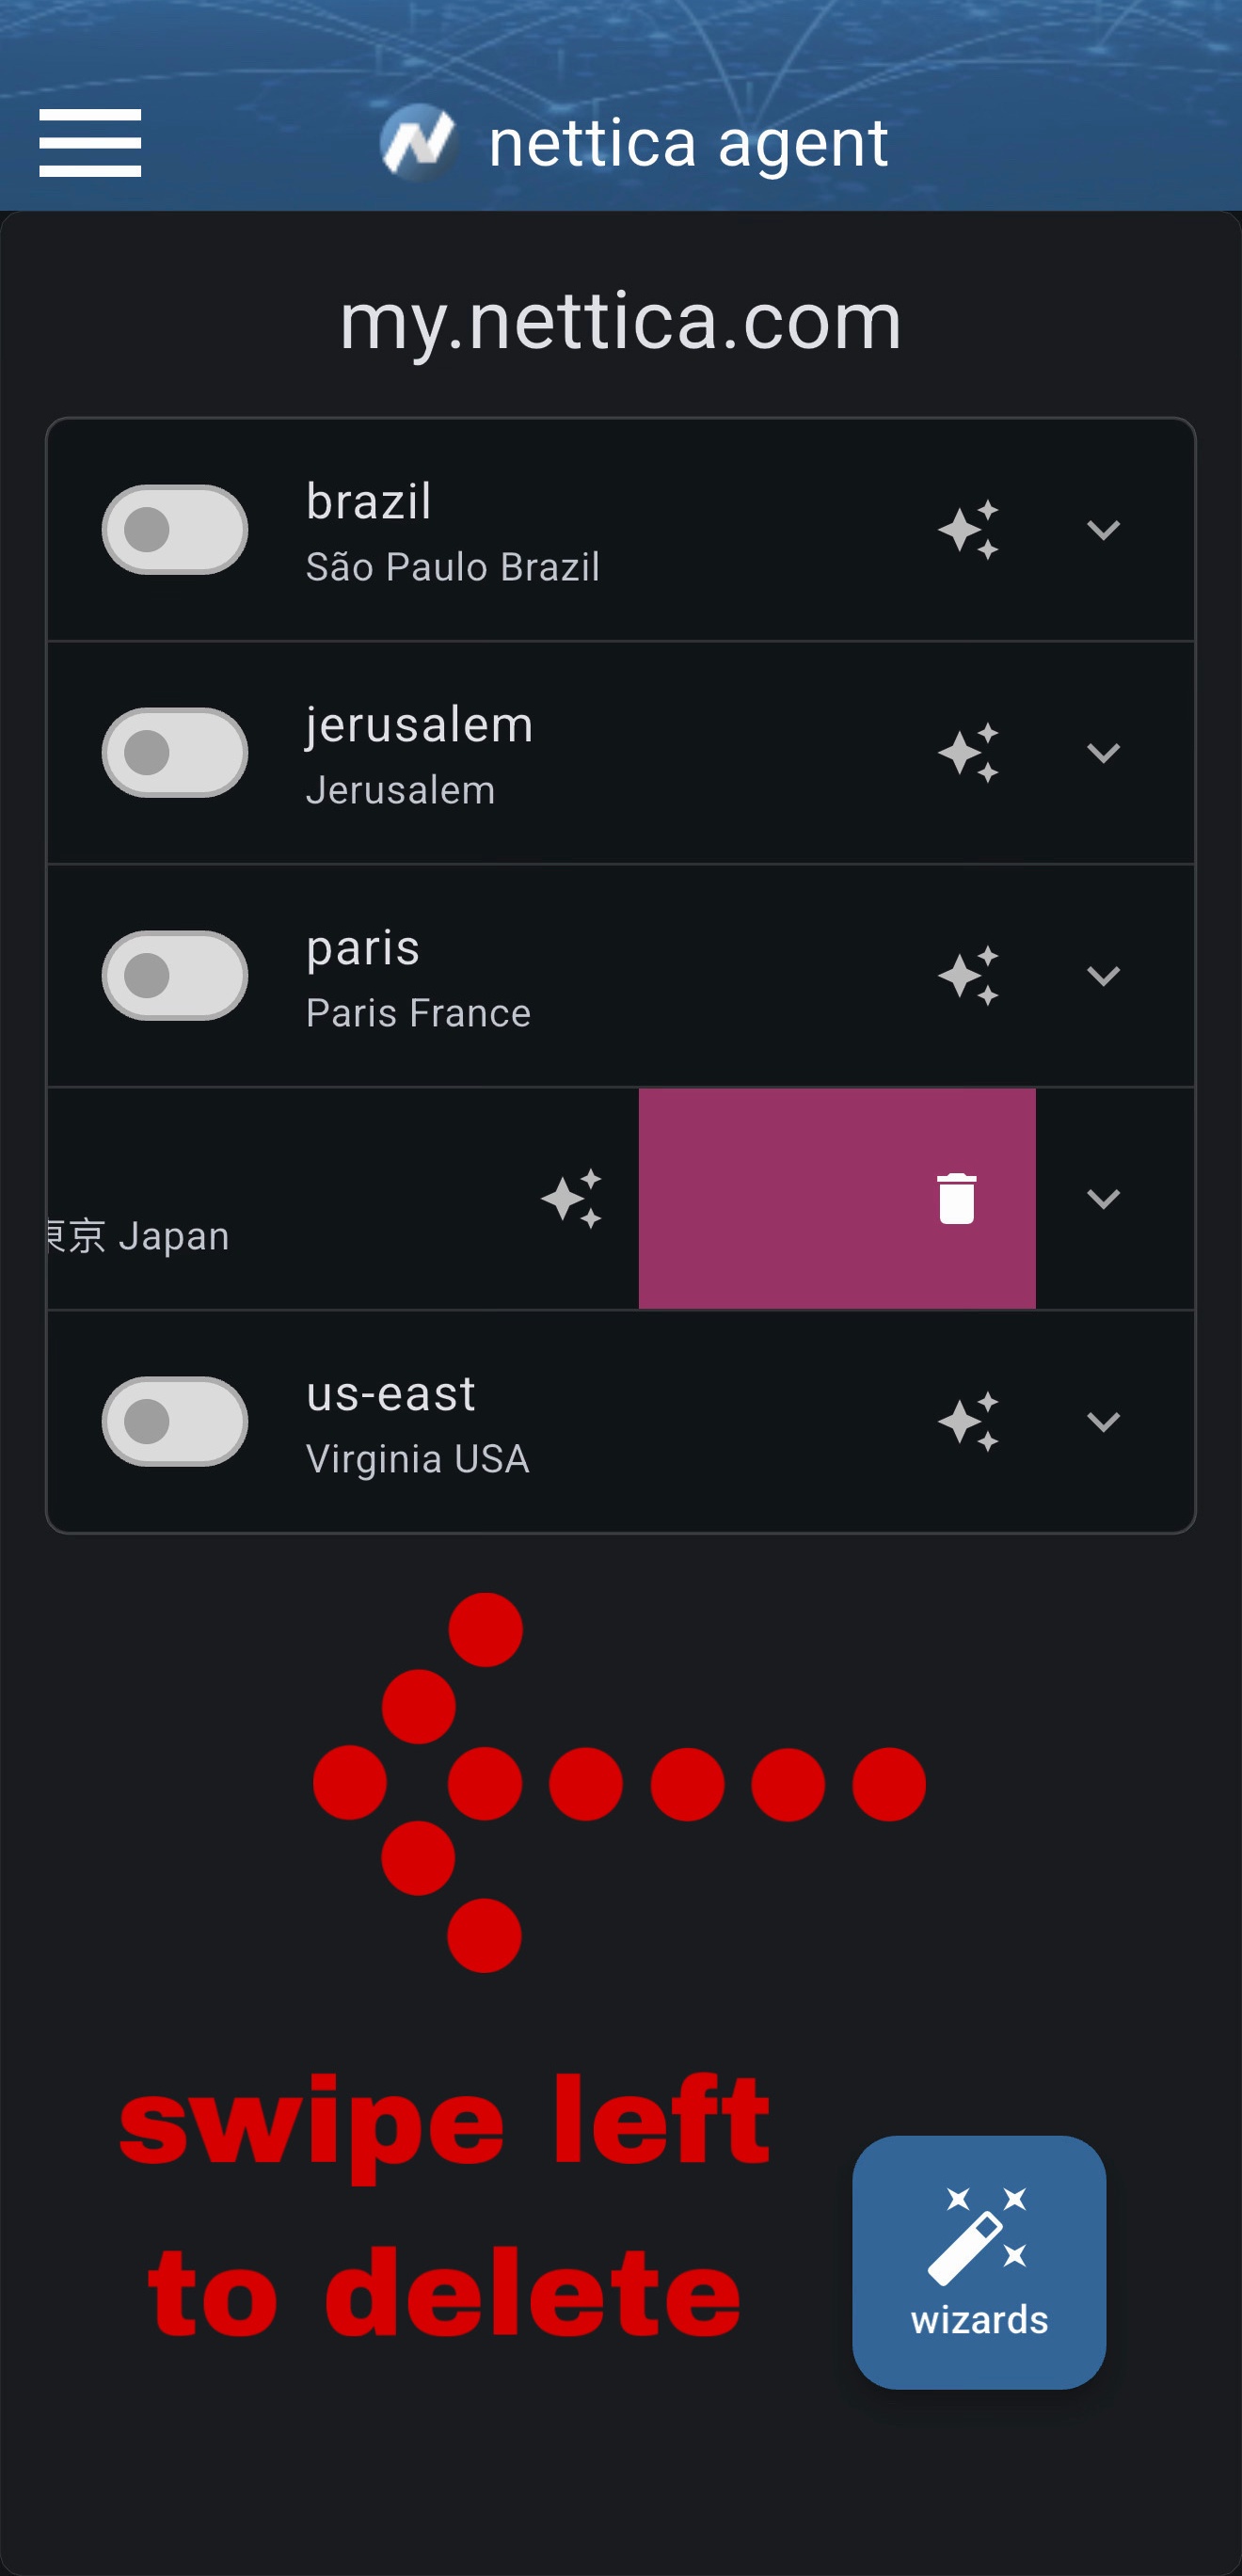
Swipe Left to Delete
To remove a VPN from your device, swipe its row to the left. A confirmation dialog will appear to confirm the deletion. If you are an administrator and using our tunnel or relay services, you will be asked if you'd like to delete the service from the VPN as well. If you choose to delete the service, it will be removed from all devices in the network. If this is the last device in the network, the network itself will also be deleted.
Deleting a VPN removes it from this device. The network still exists in your account and can be re-added at any time.
Enable/Disable VPN
To enable or disable a VPN, use the toggle switch next to the VPN name. When the switch is turned on, the VPN is active. When the switch is turned off, the VPN is inactive.
Only one VPN may be enabled at a time.
Edit VPN
Tap the VPN name to view and edit the WireGuard configuration for that VPN connection. You must be logged in and an admin to edit a connection that you do not own.
Copy IP Address
Tap the VPN connection's IP address to copy it to the clipboard.
On Demand VPN (iOS/macOS)
On Apple devices, on demand allows you to enable or disable a VPN based on the current WiFi connection, or whether or not you are connected via cellular data.
Per App VPN (Android)
On Android devices, per app allows you to choose which apps route through the VPN and which connect directly. Some think of it as "split tunnel for apps".
VPN devices
You can expand each VPN to show the devices connected to it. If the device is currently connected, it may additionally show icon buttons to initiate text or video chat, or in the case of a relay or tunnel, a conference room button. Linux and Windows Nettica VPN Agents can show icons for their conference room.
Text Chat
Tap the chat icon to start a text conversation with other users connected to the VPN. Note that if they are not available, whatever you send will be sent by push notification if it is a mobile device.
Video Chat
Tap the video icon to start a video conversation with other users connected to the VPN. Video chat comes through as a phone call on mobile devices.
Video Conference Room
Tap this icon pair to enter a conference room. Conference rooms can currently have up to five participants. Conference rooms are a great way to have a group conversation with multiple users on the same VPN. Conference rooms are only available on Linux and Windows devices running the Nettica VPN Agent, and on our relay and tunnel services.